Windows PowerShell development
Setting up Windows PowerShell and Visual Studio Code for writing and testing Windows PowerShell modules
Published in Articles on by Michiel van Oosterhout ~ 5 min read
Windows PowerShell is not the only command-line shell for Windows, but it is the preferred command-line shell as far as Microsoft is concerned. Most parts of Windows can be managed through Windows PowerShell, either locally or remotely. And the most popular cloud providers can all be managed using (Windows) PowerShell (see modules for Microsoft's Azure, Amazon's AWS, and Google's Cloud Platform).
Some time ago we installed Visual Studio Code. Now we'll configure it for developing Windows PowerShell code.
Windows PowerShell execution policy
By default, Windows PowerShell's execution policy is set to Restricted, which does not allow you to execute PowerShell scripts, even if you wrote them yourself. You can change the policy to RemoteSigned, which requires that all scripts and configuration files downloaded from the Internet are signed by a trusted publisher.
Set-ExecutionPolicy -ExecutionPolicy RemoteSigned -Force -Scope CurrentUser
PowerShell modules
There are two PowerShell modules we can install from the PowerShell Gallery to help us write and test PowerShell code: PSScriptAnalyzer and Pester.
PSScriptAnalyzer
The PSScriptAnalyzer module is used to analyze PowerShell code according to a set of extensible rule definitions. To install we simply run:
# Install the Pester module
Write-Host "Installing [PSScriptAnalyzer]... " -NoNewline
Install-Module -Name "PSScriptAnalyzer" -Repository PSGallery -Scope CurrentUser
Write-Host "OK"
To use this module you can run Invoke-ScriptAnalyzer -Path ... on an individual script file. As we will see later in this article, our editor can do this automatically as we write our code. See this series of blog posts from Microsoft for a more in-depth overview of PSScriptAnalyzer.
Pester
The second module we should install is the Pester module, which we can use for writing and running automated tests.
We can install it on our system once, after which we can use it in any PowerShell development project. The Windows PowerShell script below installs the module:
# Install the Pester module
Write-Host "Installing [Pester]... " -NoNewline
Install-Module -Force -Name "Pester" -Repository PSGallery -Scope CurrentUser -SkipPublisherCheck
Write-Host "OK"
Although Pester 3.4 is already installed on Windows, Update-Module -Name Pester does not work:
Module 'Pester' was not installed by using
Install-Module, so it cannot be updated.
This is also the reason why the module is not listed when running Get-InstalledModule. (Similar to the PSReadLine module version 2.0.0.)
So we need to perform a side-by-side installation using -Force. But Install-Module also requires -SkipPublisherCheck because the built-in version of Pester was signed using a different certificate than the newer version of Pester we want to install. (Also see Pester's installation and update documentation.)
Visual Studio Code
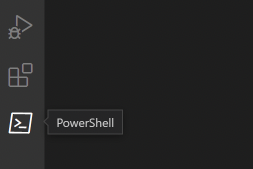
By default Visual Studio Code has some support for Windows PowerShell and for writing PowerShell code. The Terminal view in the panel can start new Windows PowerShell sessions, and the built-in Powershell Language Basics extension (vscode.powershell) provides syntax highlighting for PowerShell code.
Better support for PowerShell development is offered by the PowerShell extension. This extension includes a language server for PowerShell and enables IntelliSense, code navigation, real-time script analysis, and local script debugging. To install, we simply enter:
code --install-extension ms-vscode.PowerShell
The Command Explorer shown above can actually be disabled in settings.json with "powershell.sideBar.commandExplorerVisibility": false.
What is noteworthy about this extension is the PowerShell session that is started on-demand (typically when opening a PowerShell file), or with the PowerShell: Restart Session command. This session cannot be started like the other terminal sessions, and if you kill it, you will automatically be prompted to restart it. This session is the connection to the PowerShell Editor Services.
Running tests
Visual Studio Code has a built-in testing API feature that extensions can use to help Visual Studio Code discover tests. Tests in code are then decorated with an icon that can be used to run the test, and all tests are listed in a test explorer in the sidebar.
The PowerShell extension mentioned above does discover Pester tests, but does not use the testing API to report them to Visual Studio Code. Instead it uses the CodeLens feature to add Run test and Debug test links above each test, and will use the PowerShell Extension session to execute the test.
We will disable this setting (powershell.pester.codeLens), and instead install the Pester Tests extension: code --install-extension pspester.pester-test. This extension, though in preview, does use the testing API (but only when opening a folder/workspace).
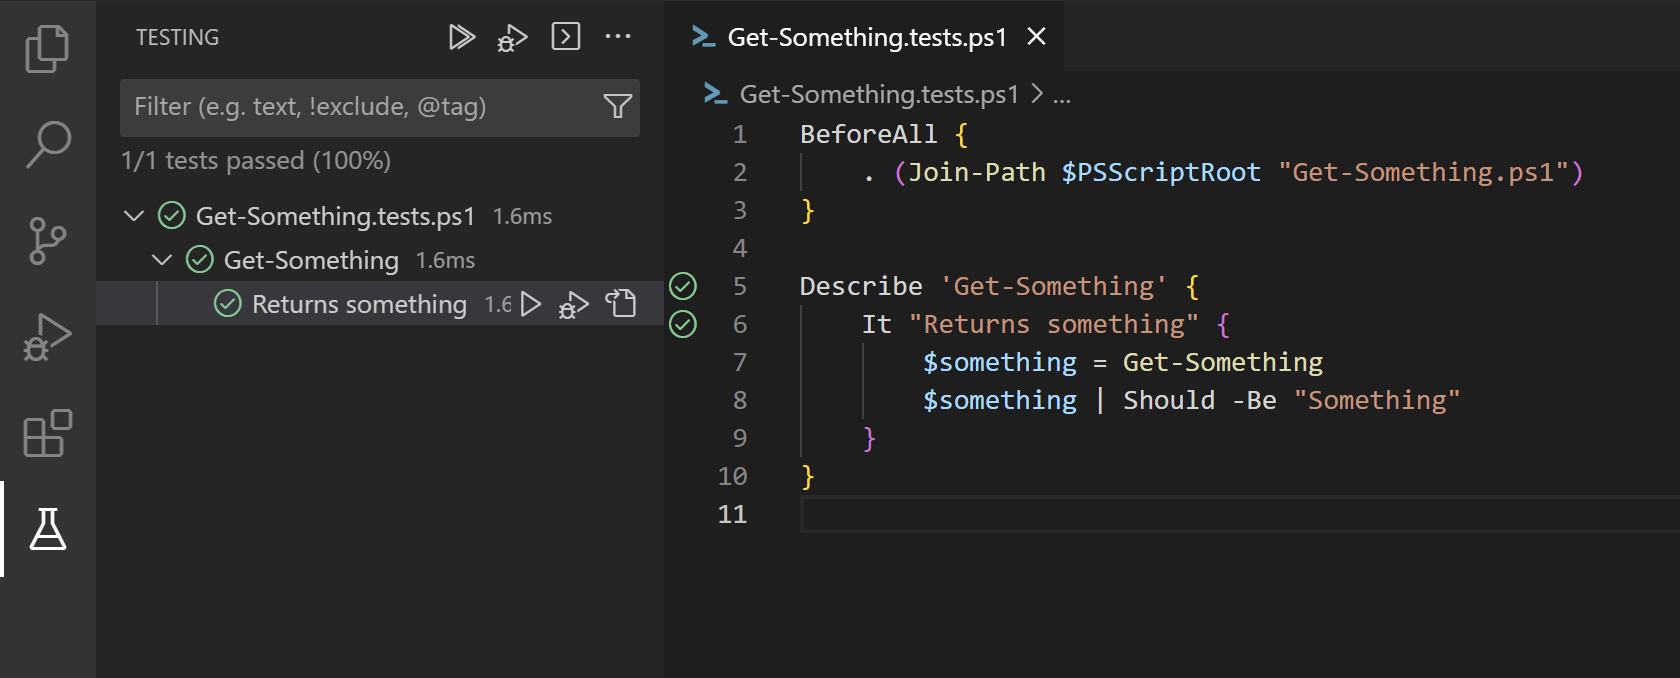
All tests are listed in the test explorer and can be run as a set or individually. Tests can also be debugged from there.
Conclusion
We can configure Visual Studio Code to be a very decent IDE for Windows PowerShell development using only two extensions, PowerShell and Pester Tests. Especially the ability to run and debug isolated test is very useful for larger projects, such as the development of a PowerShell module.